

Working with clay is a lesson in patience and transformation. Each mug that leaves my garden studio in Ealing is part of a larger Throwing Journey. It begins as a humble lump of clay and undergoes a multi-stage journey before it ever reaches your hands.
Because the process involves drying stages and two separate kiln firings, a finished mug takes a few weeks to complete.
Here is a behind-the-scenes look at how a mug comes to life at my studio.
1. Preparing the Foundation
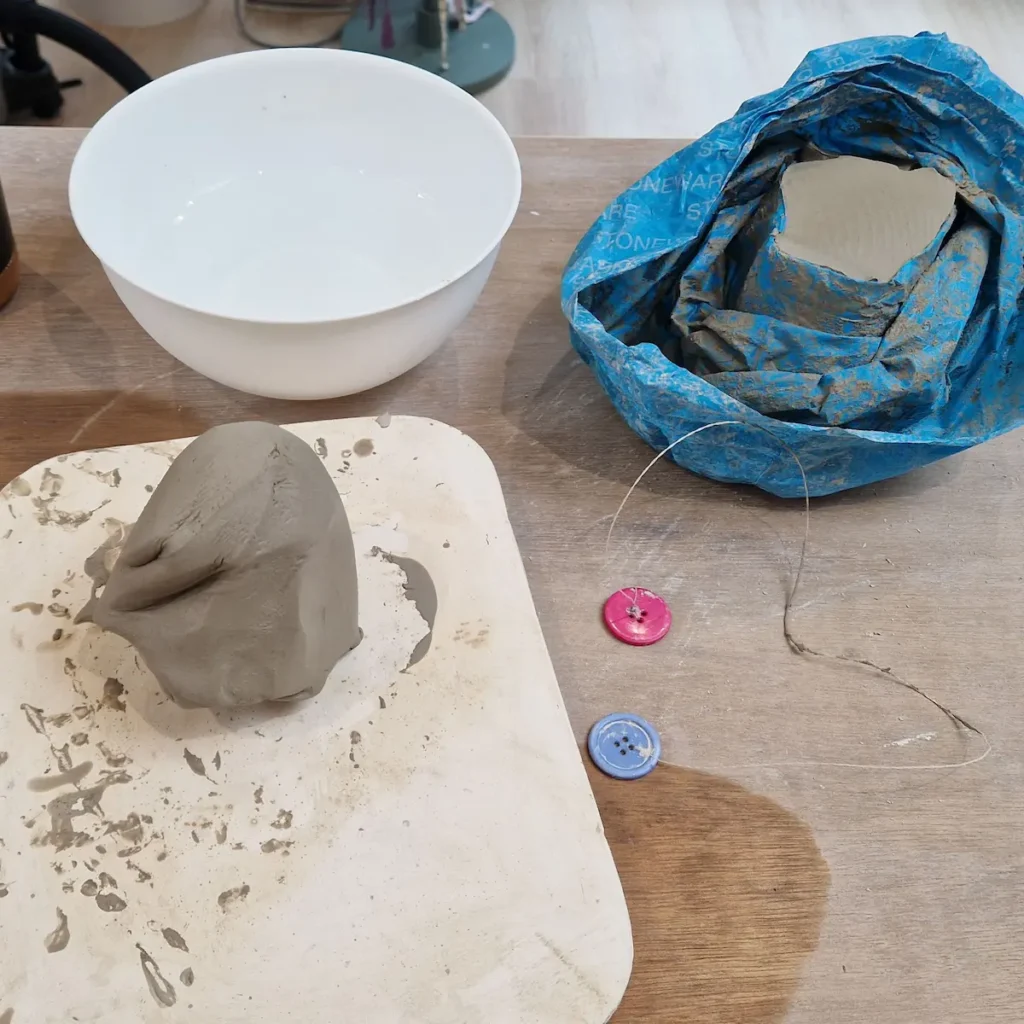
Every piece starts with wedging. This is the process of kneading the clay to remove air bubbles and ensure an even consistency. Without proper wedging, a pot can crack in the kiln.
2. At the Potter’s Wheel
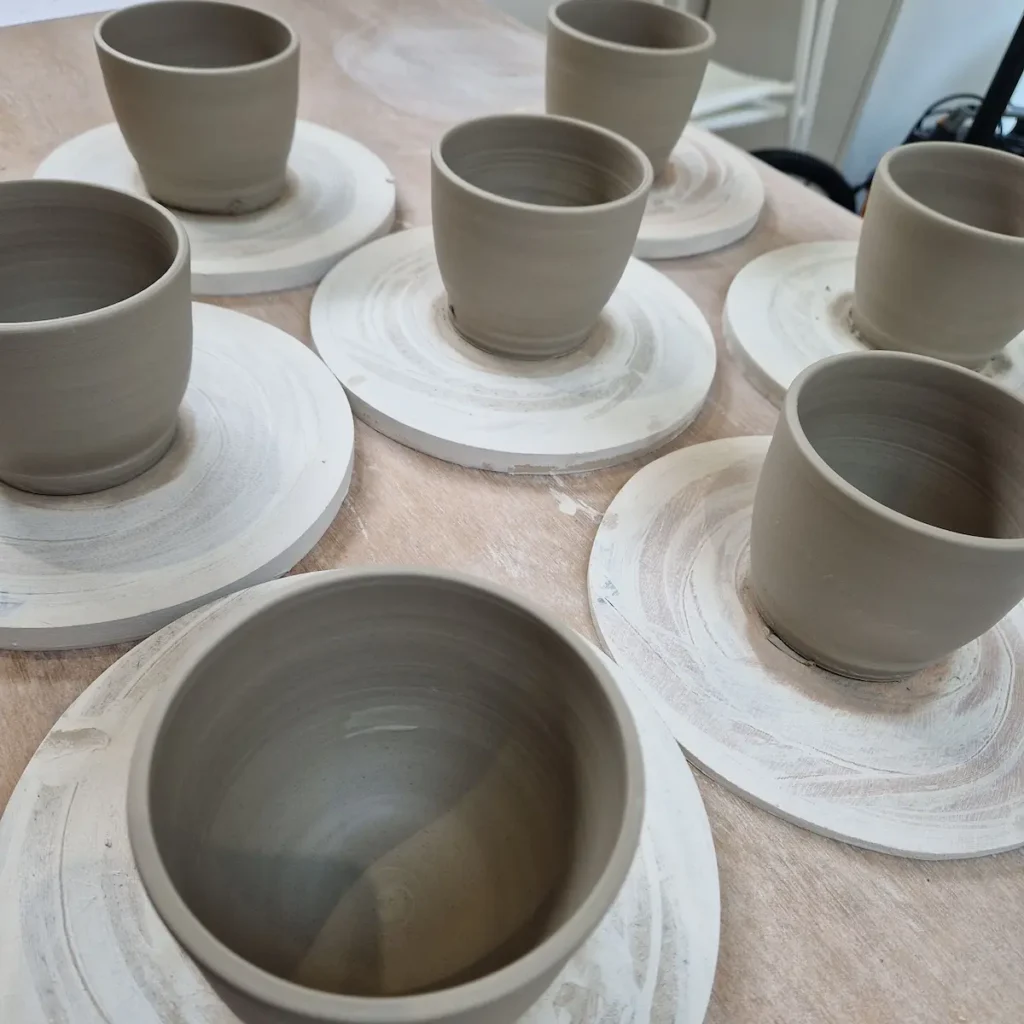
Once the clay is prepared, it’s time to find a rhythm at the wheel. I center the clay and pull the walls upward to create the thrown pot. At this stage, the clay is still soft and “wet”, full of potential but very delicate.
3. Refining the Form: Trimming
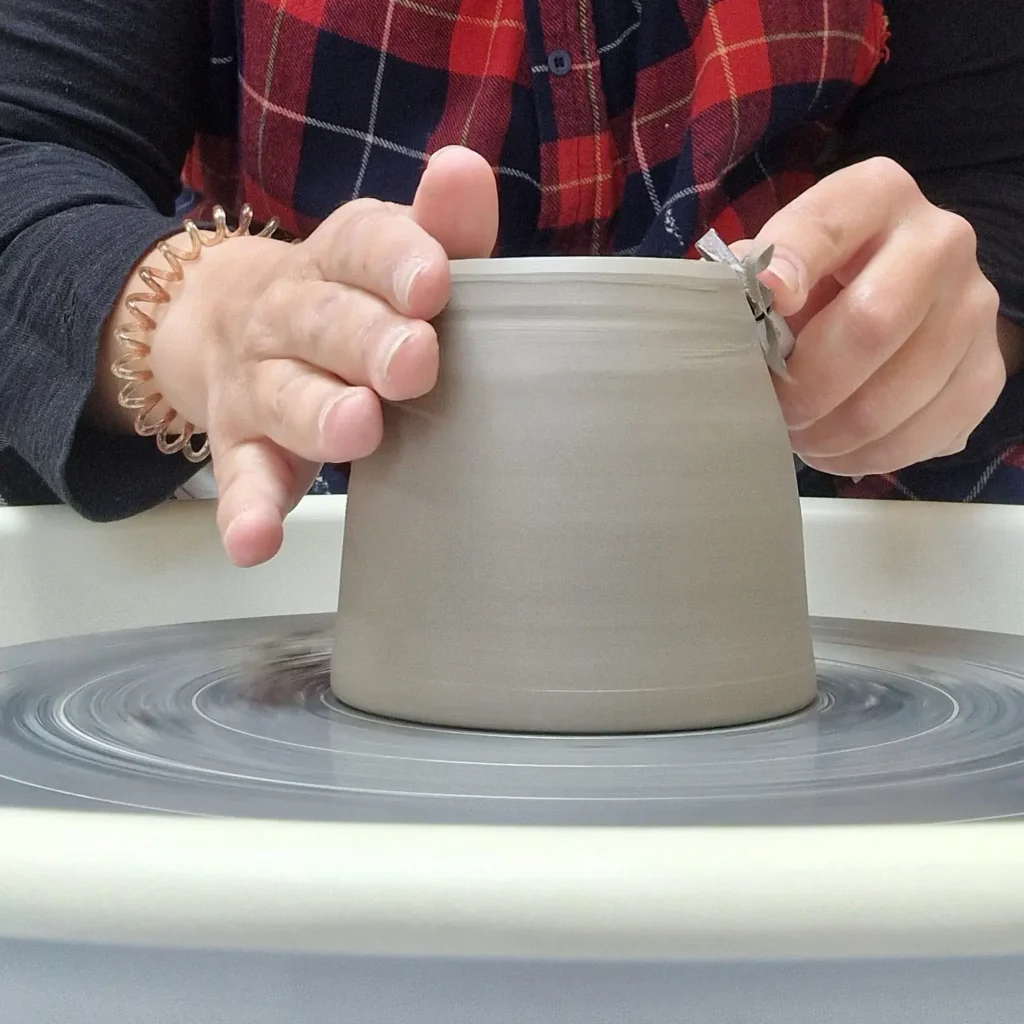
After the pot has dried to a “leather-hard” state, I return it to the wheel for trimming. This is where I carve away excess clay from the bottom and create a foot ring, giving the mug a refined shape and a lighter feel.
4. The Art of the Handle
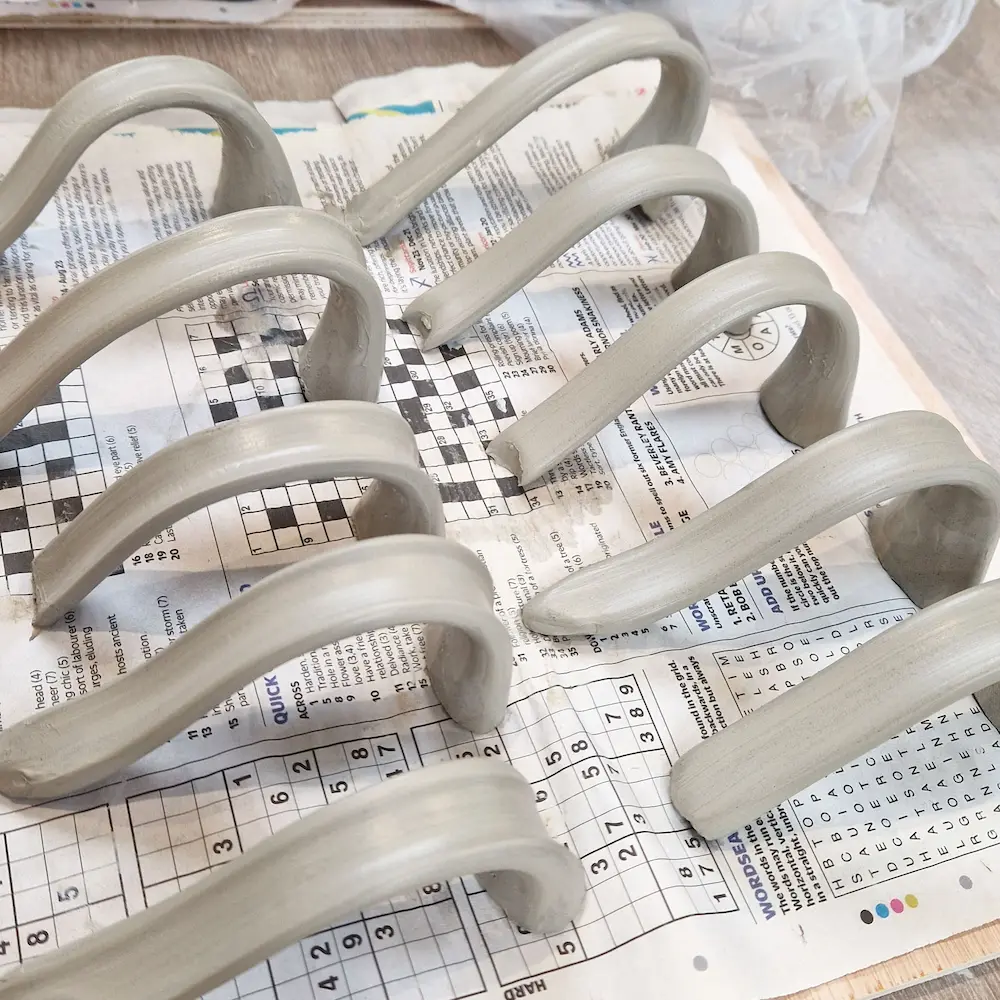
Handles are pulled by hand to ensure they are esthetic, uniform and comfortable to hold. Once shaped, they must rest and dry slightly until they match the moisture level of the mug body.
5. Bringing it Together
Attaching the handle is a precise task. I “score and slip” both surfaces: scratching the clay and adding liquid clay “glue” to create a permanent bond that will survive drying process and the intense heat of the kiln.
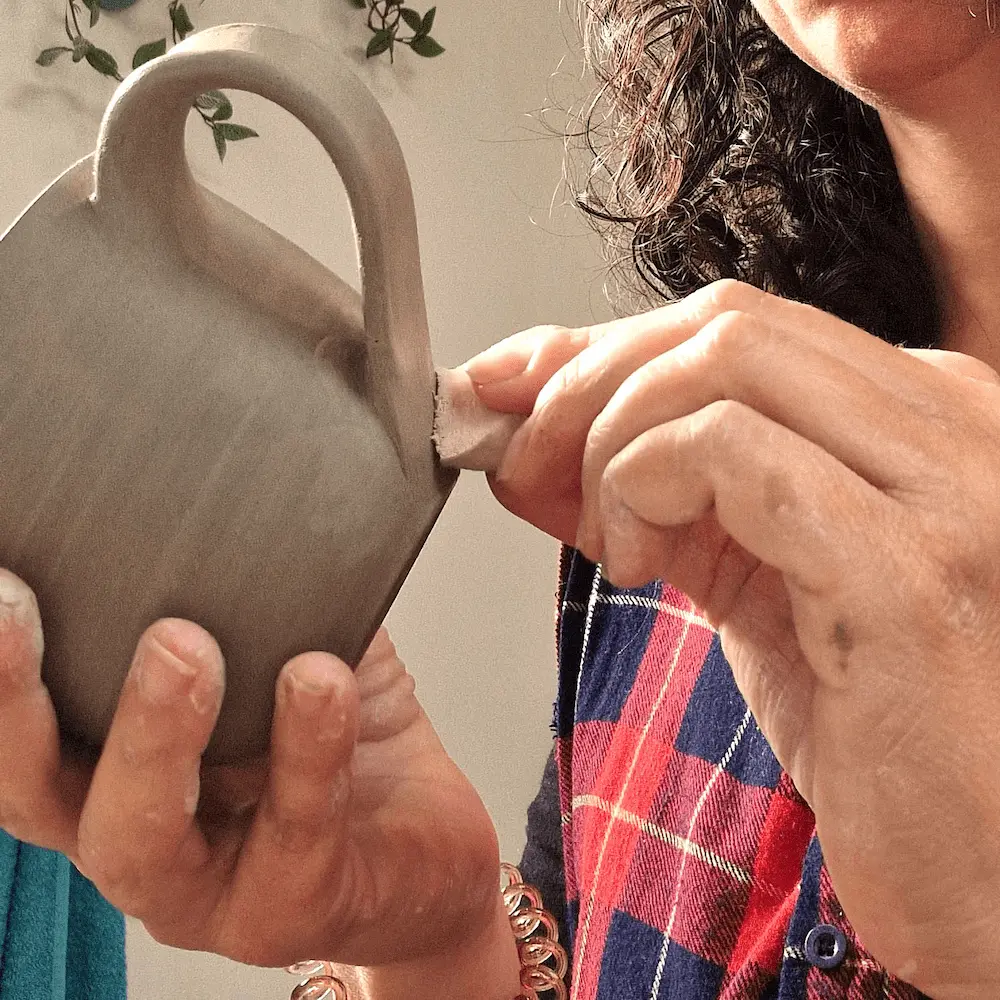
6. Adding Character: Surface Decoration
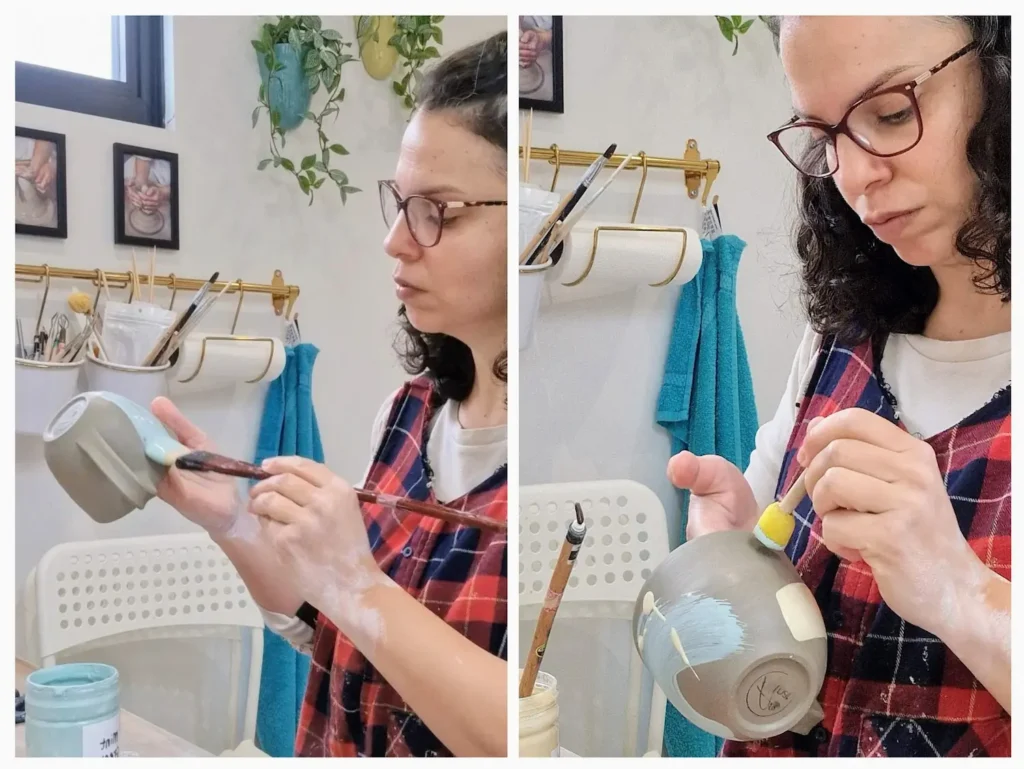
Now for the creative details. Using brushes and sponges, I apply surface decoration. This is where the mug begins to take on its unique personality through color and texture.
7. The Final Transformation: Fire and Shrinkage
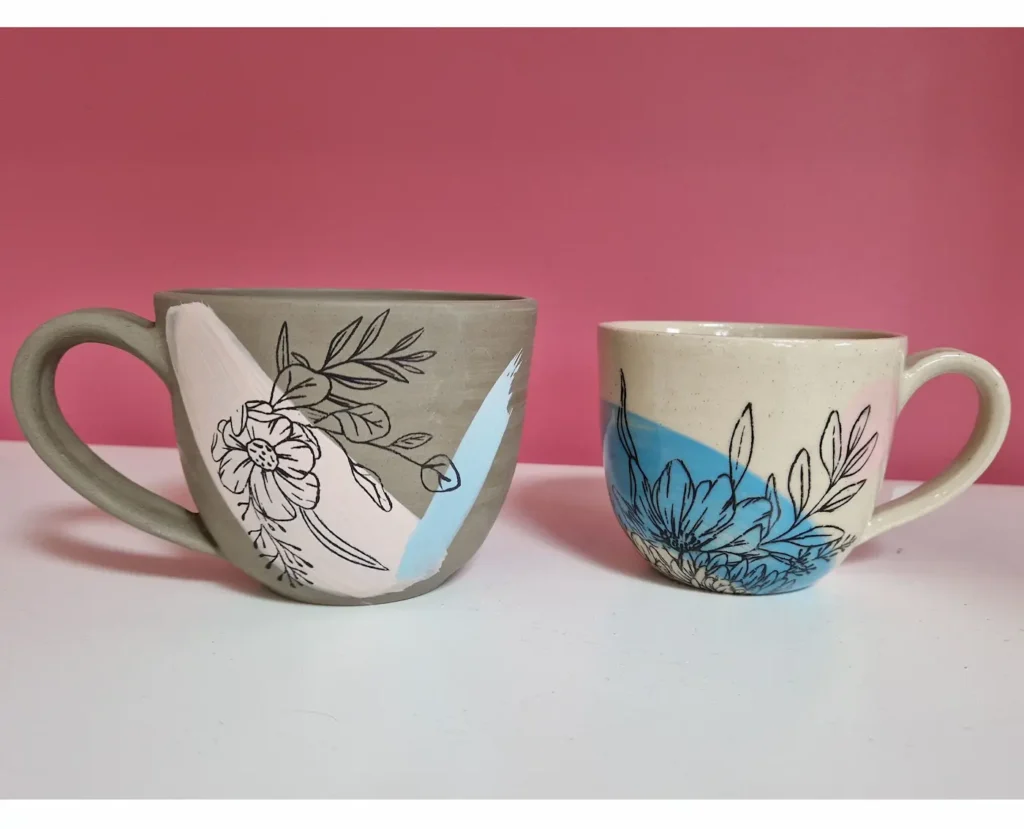
The most surprising part of the journey is the final result. Pottery undergoes a massive physical change during firing. You can clearly see the shrinkage when comparing a raw clay mug to a finished, fired piece. The heat draws out every last drop of moisture and vitrifies the clay into a durable, functional piece of art.
Master the Entire Process
Because a single session isn’t enough to see a mug through from raw clay to a finished, glazed piece, I invite you to join me for a complete Throwing Journey. The reason why I call my 4-week course a ‘Throwing Journey’ is because you are traveling through every stage of the clay’s life, from the wheel to the final firing.
In this 4-week 1:1 private course, you will move through every stage featured in this post: from the first wedge of clay to the final glazing process.
- Duration: 4 Sessions (2.5 Hours each)
- Cost: £320 (Private 1:1 tuition)
- Location: South Ealing garden studio